This article provides an in-depth analysis of the causes of bubbling, runs, sagging, and pinholes in automotive painting, including environmental humidity, inadequate cleaning, and incorrect spray techniques, and offers professional remediation methods and a spraying FAQ to help achieve a more flawless and durable finish.
I. A Deeper Analysis of the Bubbling Phenomenon: It's Not Just About Applying Thick Coats
The causes behind blistering are complex; apart from applying too thick a coat, they may also involve the following issues:
1. Substrate surface not fully cleaned
- residual oil stains
- silicone oil, wax
- Hand sweat, dust
Both will prevent the normal adhesion of the paint film and cause solvents to be trapped locally, thereby forming bubbles.
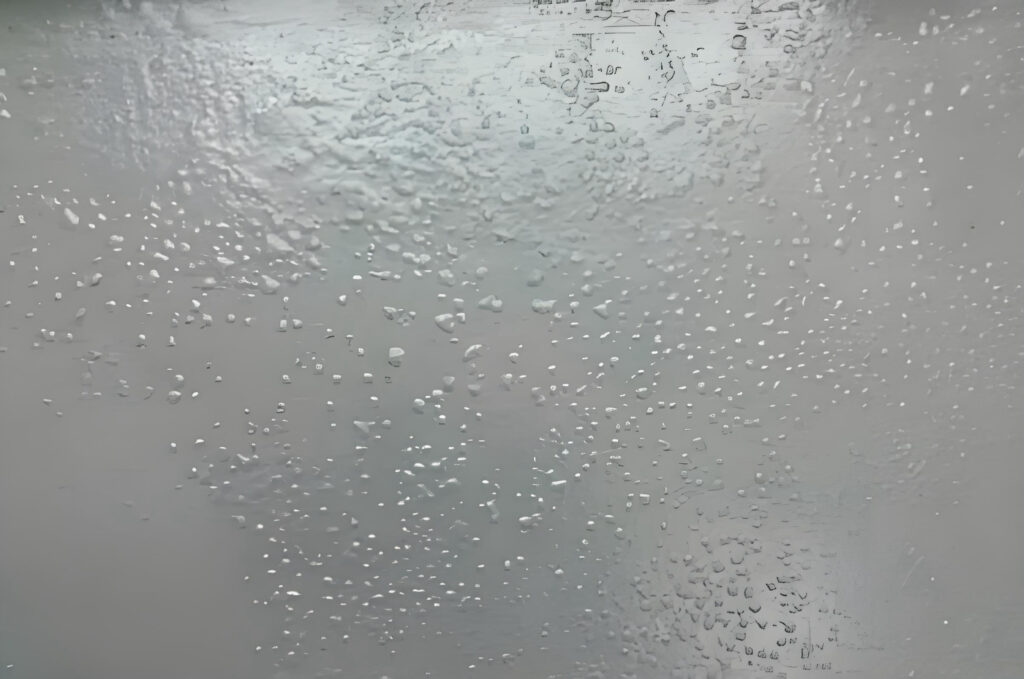
2. Spraying environment humidity too high
If the air humidity exceeds 85%, moisture will mix into the paint mist, resulting in:
- Moisture is trapped within the paint film.
- Tiny blisters appeared on the paint surface.
- or even result in a "milky fog" phenomenon
3. Mismatch in diluent evaporation rate
For example, when using a "fast-drying thinner" in high-temperature environments, the overspray dries the instant it lands on the surface, and the internal solvent has no time to escape, which also causes bubbles and pinholes.
II. How are runs and sagging formed on automotive paint?

Many non-professional sprayers have encountered this situation:
"The paint looked beautiful right after it was sprayed, but then it started to run down after just over ten minutes."
This is because the coating's flowability increases as the solvent evaporates. When thick paint is affected by gravity, it slides downward, forming:
- water droplet shape
- elongated sagging
- "tear stain" pattern

4 most common reasons
- Spray gun too close: Paint mist lands on the surface before it is fully atomized
- Gun travel speed too slow: local paint buildup
- Spray width too small: Uneven spraying causes locally excessive thickness
- Paint viscosity too low: Excessive dilution causes excessive fluidity
3. What is the principle behind the formation of pinholes on the paint surface?
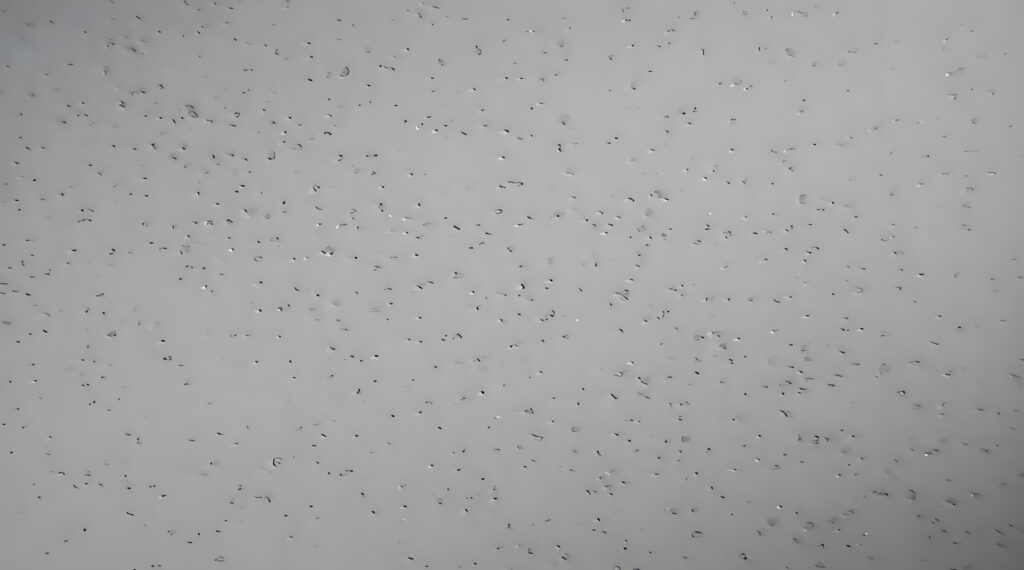
Pinholes generally manifest as:
- Small holes with a diameter of 0.1–0.5 mm appeared on the surface.
- The edge is ring-shaped.
- obvious depth
This is because internal solvent was trapped and broke through after drying, forming small pinholes.
Common triggers include:
- The underlying sandpaper scratches are too coarse.
- Surface not properly degreased
- Spray gun pressure too high, entraining excessive air
- Applied too thick in a single coat
If pinholes are not repaired before applying the clearcoat, they will be infinitely amplified and directly affect the film-forming gloss of the clearcoat.

IV. Case Study: Same Paint, Different Spraying Techniques, Final Effect Differed by 10 Times
Case A: Heavy Spray Mode — Failed Result
- Apply the topcoat in a single heavy coat
- Spray distance less than 10 cm
- To achieve a "glossy" finish, wet spraying is additionally applied.
Result:
- Sagging occurs after 20 minutes.
- Pinholes appeared after 4 hours.
- Localized blistering occurred the next day
- The varnish fails to achieve a mirror-like finish.
- increase rework cost by 3–5 times
Case B: Thin-layer Multi-coat — Professional-grade Finish
- First coat: mist spray for priming.
- Second layer: after semi-dry, apply color evenly in builds
- Third layer: light wet spray leveling
Final performance:
- Uniform and full color
- zero pinhole
- sag-free
- The varnish exhibits a specular effect.
The biggest difference between professional spraying and amateur spraying is:
the former controls the thickness of each layer, while the latter just wants to spray enough in one go.
5. How to Remedy After Problems Occur? (Practical Tips)
1. Foaming treatment method
- Sand through completely to the substrate using P600 or P800.
- cleaning and degreasing
- Re-apply a mist coat as the base layer.
- Apply color in layered buildup; do not wet spray.
2. Sagging Treatment Method
If there is only slight sagging:
- Allow to fully dry (typically 12–24 hours)
- Wet sand with P1500–P2000
- Then use a polishing machine with fine polishing to restore the gloss.
If severe:
- P800 direct sanding to flat
- Repaint the area or the entire surface.
3. Pinhole Treatment Method
The pinhole must be completely filled and leveled:
- Fill with fine putty
- Sanded smooth with P800
- Then apply the intermediate coat and topcoat.
Never just "touch up a tiny bit" directly—that will only make the clear coat more noticeable.
6. Common Spraying Issues FAQ (Essential SEO Module for Websites)
Q1: Why do I get orange peel when spraying paint?
Possible causes:
- Insufficient spray gun air pressure
- Paint viscosity is too high.
- spray distance too far
- Ambient temperature too low
Q2: Is it always good to spray paint on a sunny day?
If the humidity exceeds 80%, even on a clear day, it will cause blushing and pinholes.
Q3: How long should the interval between spraying and drying be?
Taking solvent-based paint as an example, it is generally the 5–10 minute semi-dry stage that is most suitable for layering spray.
Q4: What should I do if small granules appear right after spraying?
Use a tack cloth to gently pat the surface; do not rub vigorously.