Have you ever picked up a spray can with great anticipation, ready to give a beloved old item a fresh new look, or to touch up a slightly worn corner of your home? You sprayed carefully and waited for it to dry, but the final result was shocking—the newly sprayed paint layer was so fragile that it flaked off at the slightest touch, even peeling off in whole sheets as easily as removing a face mask. This gap between expectation and frustration is something many DIY enthusiasts have surely experienced.
Faced with this "fragile" paint film, are you filled with doubts: "I clearly followed the instructions for every step, so why won't the paint adhere?"
Don't rush, and there's no need to doubt yourself. Today, we will delve into the root cause of this stubborn problem and provide you with a thorough, reliable solution. In fact, the key to the problem is, nine times out of ten, not with the paint itself, but with the most easily overlooked step hidden beneath the glossy paint surface—surface preparation.
I. The Root of the Problem: Why Your Paint "Fails to Adhere" to the Substrate?
We can understand this with a vivid analogy: paint adhering to a surface is like a person trying to stand on a smooth sheet of ice. If the ice is mirror-smooth (representing a smooth, oil-contaminated substrate), then no matter how hard he tries, he will easily slip and cannot stay upright. But if the ice becomes rough and provides enough friction (representing a properly prepared substrate), he can firmly take root there.
Paint adhesion is essentially a process of mechanical interlocking and microscopic physical adsorption. It does not rely on chemical tackiness like "glue," but rather needs to penetrate countless microscopic pits and crevices in the substrate, and after curing, forms innumerable tiny "mechanical anchors" that lock it onto the surface.
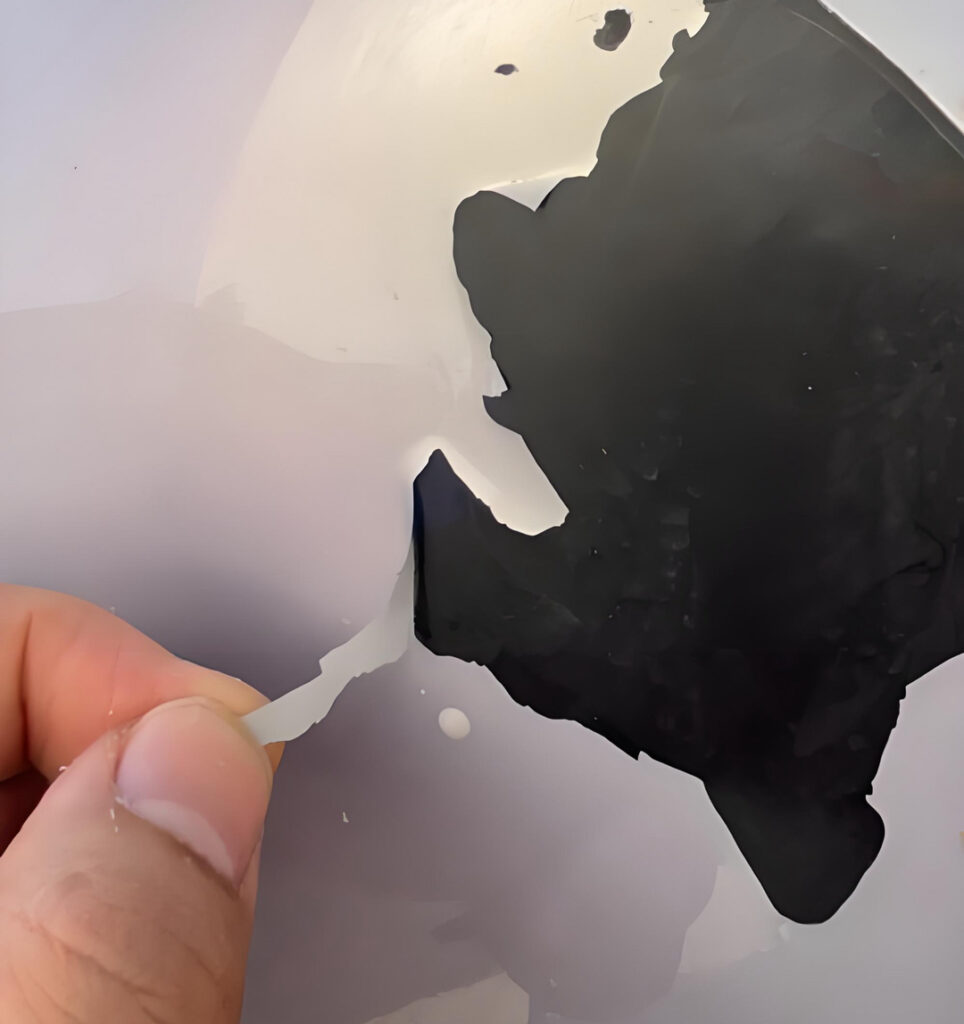
Therefore, when paint is sprayed directly onto a smooth, unclean, or greasy surface, it faces three major enemies:
- Smooth surface: Lacking the necessary roughness, paint cannot form an effective mechanical bond. Whether it is an old smooth painted surface, plastic parts, or metal, their dense surface layer is a "wall of bronze and iron" for the new paint.
- Dust and contaminants: Dust and powder particles left after sanding or originally present can form a barrier layer between the paint and the substrate; this tiny barrier is enough to completely destroy adhesion.
- Oil and moisture: The oils left by finger touches, grease in the air, or residual moisture will form an invisible film on the surface, blocking the intimate contact between the paint and the substrate.
Under these three circumstances, the paint is like a duckweed without roots, having lost the substrate on which it depends for adhesion. Peeling thus becomes an inevitable outcome.
Having identified the root cause, we can now prescribe the right remedy. Next, we will detail the three key steps to restore paint to its former glory with renewed adhesion and a like-new finish. Bear in mind that this is an interlocking system engineering—omitting or carelessly handling any step may undo all previous efforts.
II. Solution: Three Golden Steps to Ensure Strong Paint Adhesion
Step 1: Polishing — The Core Foundation for Creating Grip
Sanding is the most critical and irreplaceable step in the entire process. Its core purpose, summed up in one sentence, is: "Transform smooth into rough, creating millions of tiny anchor points for the paint."
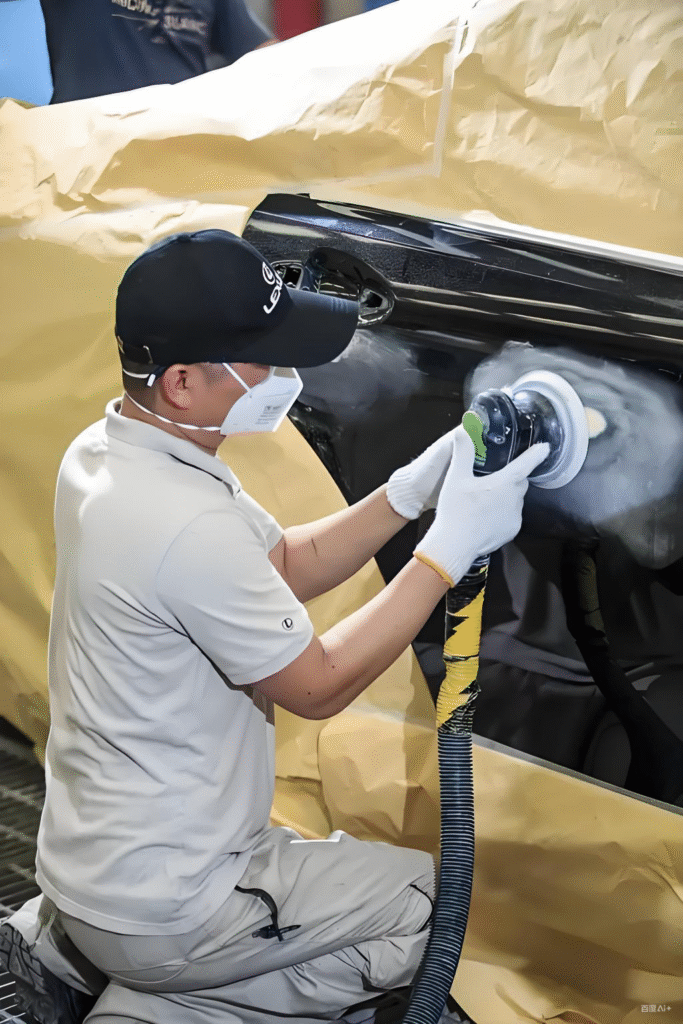
1. The object of polishing:
- Old paint surface: Whether it is an intact old paint or a paint surface that has already peeled, sanding is required. The surface of an intact old paint is usually too smooth, and the edges of the peeled areas are uneven; both need to be sanded to form a unified and rough new interface.
- Plastic parts: Many plastics (especially PP, PE materials) have low surface tension and are naturally difficult for paint to adhere to, so sanding is necessary.
- Metal parts: The oxide layer, rust, or existing coating on the metal surface must be thoroughly removed by grinding to expose a fresh, active metal substrate.
2. Methods and Techniques for Polishing:
- Tool selection: Based on the size and shape of the workpiece, different grits of sandpaper can be chosen (e.g., 180 grit, 240 grit, 320 grit). Dry sandpaper is the most commonly used; for large flat surfaces, a sanding block can be used as an aid; for complex curved surfaces or corners, sponge sandpaper may be needed for better conformity.
- Polishing standard: How to tell if polishing is done properly? Please follow these two intuitive criteria:
- Visually: The surface loses its original luster and shows a uniform matte finish overall.
- Tactile: When touched by hand, there is a noticeable "roughness" or "resistance" feeling, no longer smooth.
Remember: The microscopic roughness created by this polishing step is the foundation for all subsequent steps. Without it, the effectiveness of cleaning and primer will be greatly reduced.
Step 2: Cleaning — A Necessary Safeguard Against the Invisible Killer of Adhesion
After sanding, a surface that appears clean is in fact covered with "invisible killers" — sanding dust and the oils inadvertently left by our fingers. If these are not thoroughly removed before spraying, all the careful sanding work will be in vain.
1. Necessity of cleaning:
Dust and grease will fill and cover the microscopic roughness we have worked so hard to create, re-forming an isolation layer between the paint and the substrate. This is equivalent to building countless "seats" (rough surfaces) for the paint, yet sprinkling a handful of sand (dust and grease) on each seat, so the paint still cannot "take its seat."
2. The correct cleaning process:
- Preferred cleaner: Use isopropyl alcohol or a dedicated plastic parts cleaner/degreaser. They effectively dissolve grease and evaporate quickly without leaving residue. Avoid using household dish soap or water, as they may leave chemical residue or cause metal to rust.
- Wiping tools: Use non-woven fabric or microfiber cloth. Do not use lint-shedding paper towels or ordinary towels to avoid fiber residue.
- How to use: Spray the cleaner thoroughly onto a clean cloth, then systematically wipe the entire polished surface in one direction. After one pass, switch to a clean cloth or a clean area of the cloth and repeat 1–2 times to ensure thorough cleaning. During cleaning, avoid directly touching the cleaned areas with bare hands as much as possible.
3. Drying:
After cleaning, the workpiece must be placed in a dust-free, well-ventilated environment to allow it to completely air dry naturally. Usually it takes just a few minutes. Ensure there is no sense of moisture on the surface.
Remember: Cleaning is the key step to ensure the polishing results are not ruined, and you must never skip it.
Step 3: Primer — The Soulful Bond That Connects the Layers
On a perfectly sanded and cleaned substrate, we can finally introduce the "soul character" of adhesion engineering—primer.
1. Core Function of Primer:
- Super Adhesive: The primer's formula is designed to have extremely strong adhesion, able to deeply "bite into" the rough substrate we created by sanding, forming a grip far stronger than that of the topcoat.
- Perfect base: On the other hand, after curing, the primer forms an intermediate layer with a more suitable microstructure and optimized surface tension, providing an excellent adhesion platform for the topcoat.
- Other Functions: In addition, the primer also has multiple functions such as filling fine scratches, unifying the base color, preventing wood grain from rising, and inhibiting metal rust.
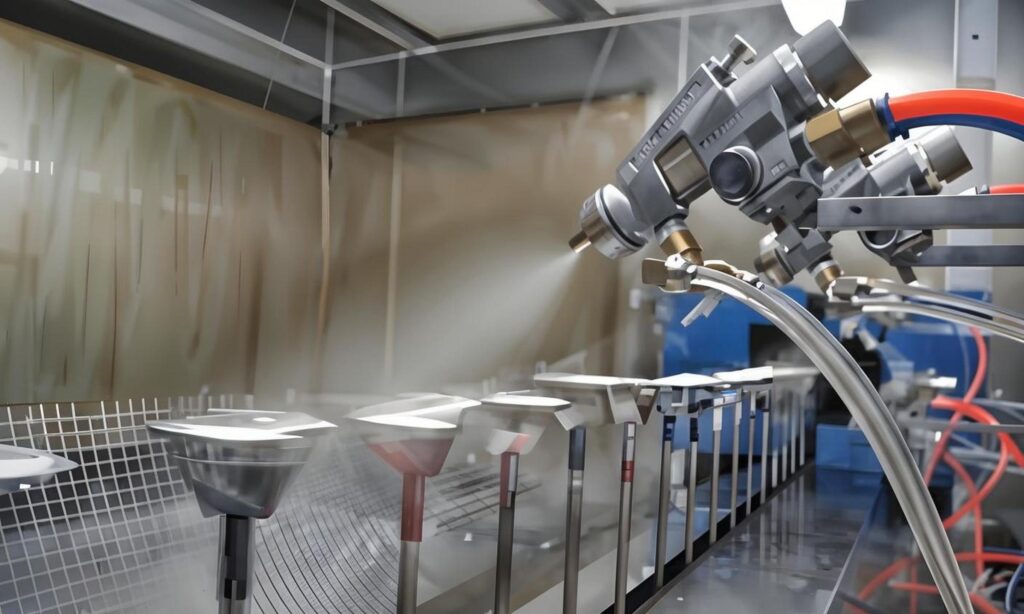
2. Key points for spraying primer:
- Thin and even: Primer is not better the thicker it is. Follow the principle of "thin layers, multiple coats"—apply a thin spray layer that just covers the substrate. Excessively thick primer not only dries slowly but may also sag, affecting the final result.
- Wait for complete drying: Strictly follow the product instructions and wait for the primer to fully dry and cure (usually 30 minutes to several hours, depending on the environment and product). Only after the primer is completely dry can the topcoat be sprayed.
The primer acts like a loyal intermediary, firmly gripping the substrate with one hand and warmly embracing the topcoat with the other, ensuring the stability and adhesion of the entire coating system.
III. Acceptance of Results: Witnessing the Unbreakable Paint Surface
Once you have strictly and patiently completed the above three steps of sanding, cleaning, and primer application, the final step is to spray on your desired topcoat. Wait for the topcoat to fully cure (allowing over 24 hours is recommended to achieve optimal strength), and then comes the moment to witness the miracle.
You can try scraping the edge of the coating with your fingernail—the result will surprise you. You will find that the coating no longer peels offfragilely as a whole; even with force, you can only barely scrape off a tiny bit of powdery paint debris, while the entire film remains firmly "grown" on the substrate, truly achieving "impossible to peel off even if you try."
Conclusion
Spray painting may seem like a simple surface-covering action, but it is in fact a mechanical engineering endeavor that begins at the microscopic level. The secret to success never lies in how glossy and brilliant the final topcoat is, but in the invisible, tedious yet crucial preparatory work that precedes it.
"Seven parts preparation, three parts spraying" is an eternal truth in the field of DIY spray painting. Next time, when you pick up the spray can again, be sure to keep these three golden steps in mind: patiently sand to create adhesion, thoroughly clean to clear obstacles, and carefully apply primer to build a bridge. Trust this methodology, which will not only help you solve the trouble of paint peeling, but also make every one of your DIY works stand the test of time, as solid and new as ever.