In daily use, cars inevitably develop minor paint scratches or chipping. Many owners, upon noticing paint damage, immediately think of taking the vehicle to a repair shop. However, small-area paint damage can actually be repaired by hand. With the right method, you can achieve a result at home that rivals professional spray painting.

Step 1: Clean the wound and lay a good foundation
The first step in repairing car paint is to clean the damaged area. Wash it with car shampoo and clean water to ensure the surface is free of dust and oil stains.
Next, use fine sandpaper (around 2000 grit recommended) to gently sand down the burrs on the edges of the chipped paint, creating a smooth transition on the surface.
This step may seem simple, but it determines the evenness of the subsequent painting. After sanding, dry the surface with a dry towel and keep it clean.

Step 2: Apply putty and level the surface to create a smooth base
After the substrate is exposed, you need to use **putty** to fill the dents. Take an appropriate amount of putty and spread it evenly with a plastic scraper.
The trick is: do not apply too thick at once, a thin layer is enough, and keep it slightly higher than the original paint surface.
After it is completely dry, use fine sandpaper to lightly sand until it feels smooth and flat, forming a natural transition layer.

Step 3: Precise Spray Painting, Color Blending
Choose a specialized spray paint that exactly matches your car's color, and be sure to shake it thoroughly before painting.
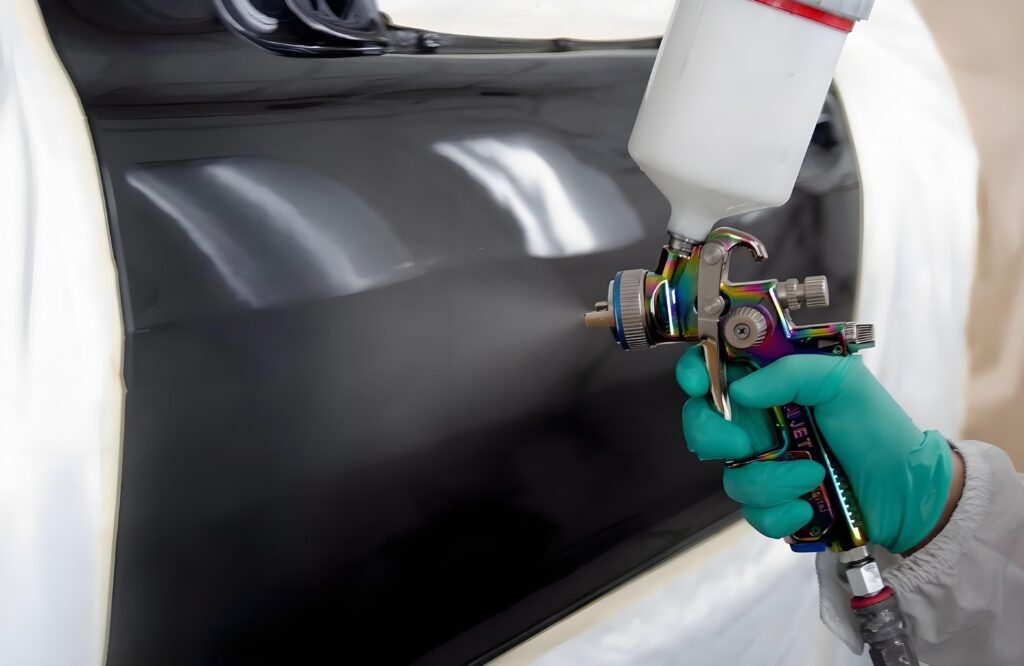
When spraying, keep a distance of 15–20 cm and use a "quick sweep, thin coat" technique, gradually covering from the edges inward.
After each coat, wait a few minutes for natural drying before applying the second coat. Usually 2–3 coats are enough for full coverage.
Do not rush by applying thick coats, as this easily causes paint runs and affects the final gloss.
Step 4: Clear Coat Protection, Restore Shine
After the touch-up paint is completely dry, apply clear coat (gloss varnish) for the final sealing layer.
The application method is the same as spraying paint—apply multiple thin coats, letting the gloss gradually appear.
The clear coat effectively prevents oxidation and fading, allowing the color to blend naturally with the original paint.
If you want a higher gloss, after it is fully dried, lightly polish once with polishing wax, and the effect will be even more stunning.
Step 5: Inspection and Maintenance
After the repair is completed, do not wash the car or expose it to direct sunlight immediately; wait 48 hours for the paint to fully cure.
After that, you can regularly wax and maintain it to keep the color of the repaired area consistent with the body and extend the life of the paint.
Conclusion:
DIY car touch-up paint is not the exclusive domain of professionals. As long as the method is correct and the details are handled properly, you can also achieve high-quality repairs at home.
This not only saves time and money, but also lets you experience the sense of accomplishment that DIY brings.
Make your beloved car look brand new, starting with your own hands!