I. Quality Standards for Automotive Refinish Paints
Automotive refinish paint differs from ordinary industrial coatings, requiring OEM-level standards to be met simultaneously across four dimensions: color match, gloss consistency, durability, and application efficiency. A professionally refinished vehicle should have its repaired area visually indistinguishable from the original paintwork.
This article details the complete standard repair process from the intake of accident vehicles to delivery, helping automotive repair enterprises establish a standardized coating operation system.
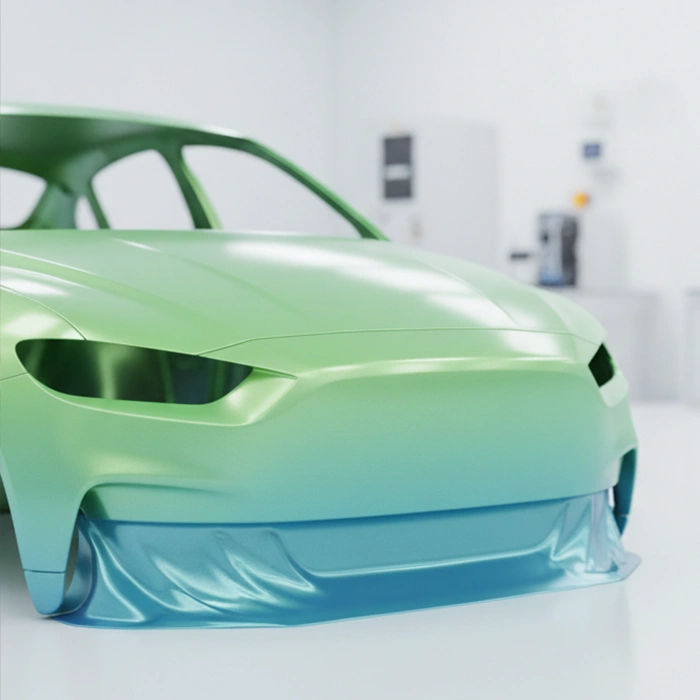
II. Standard Construction Process (7 Key Steps)
Step 1: Damage Assessment and Masking
Key Points of Operation:
- Assess the extent of damage: determine whether to perform localized repair or full-panel spraying.
- Color code confirmation: Verify the original factory color code based on the vehicle VIN or the color code label on the inside of the fuel filler cap.
- Masking protection: Use high-temperature masking paper and tape to protect non-sprayed areas, with the masking area extended 30–50 cm beyond the damaged area.
- Remove accessories: detachable components such as handles, trims, and lamps should be removed as much as possible and processed separately.
Step 2: Surface sanding treatment
Tools & Materials: Dual Action (DA) polisher, P80-P400 sandpaper (dry/wet sanding)
Operation Standard:
- First use P80-P120 sandpaper to remove the old paint layer down to bare metal, with the sanding area extending 5–10 cm beyond the damaged edges.
- Then use P240-P320 sandpaper to sand the feathered edge, with a transition zone at least 3 cm wide.
- Feathered edge requirement: no noticeable step can be felt when touched with a finger.
- Finally, use P400 sandpaper to roughen the surrounding old paint surface overall to improve coating adhesion.
- After sanding is completed, thoroughly clean the surface with a degreaser (silicone remover).
Key point: Feathered edge treatment is a critical process that determines the repair quality. An edge that is too steep will cause sandpaper marks to show after the topcoat shrinks; an edge that is too wide will increase the spray area and material consumption.
Step 3: Putty (body filler) application
Used to fill uneven surfaces after sheet metal repair.
Operation Standard:
- Use unsaturated polyester putty, mix thoroughly with hardener at a ratio of 100:2–3.
- Apply each coat with a thickness not exceeding 3 mm; excessive thickness will cause cracking.
- At room temperature (25°C), the curing time is approximately 15–20 minutes.
- After curing, perform rough sanding and shaping with P80-P120 sandpaper.
- Then finish-sand with P240 sandpaper to achieve a smooth transition between the surface of the body filler and the surrounding panel.
- The putty layer must be sealed with a primer and cannot be directly topcoated.
Step 4: Epoxy Primer Application
The function of the primer is to provide adhesion and corrosion protection.
Operation Standard:
- Use a two-component epoxy primer, mixed according to the product data sheet ratio (typically 4:1).
- Apply 2–3 coats, with a 5–10 minute flash-off interval between coats.
- Total dry film thickness shall be controlled at 60–80 μm.
- Air-dry for 2–4 hours before sanding.
- Wet-sand the primer surface with P400-P600 sandpaper to remove orange peel and particles.
- After sanding the primer, clean with a degreaser and prepare for the intermediate coat.
Step 5: Surfacer (Intermediate Coat)
The mid-coat serves to fill minor defects, provide a color base, and increase film thickness.
Operation Standard:
- Use a 2K intermediate primer, mix in proportion and filter.
- Apply 3-4 coats, total dry film thickness 80-120 μm.
- Available in gray, white, or colored intermediate coat matched to the topcoat color.
- Bake at 60°C for 30 minutes or air dry at room temperature for 4–6 hours
- After drying, wet-sand with P600–P800 sandpaper until the surface is smooth and even.
- Important: After sanding the intermediate coat, the surface must be thoroughly cleaned with a degreaser; any residual oil or grease will cause topcoat adhesion problems.
Step 6: Topcoat Application (Basecoat + Clearcoat)
This is the key process that determines the final appearance effect.
Topcoat Spraying Standard:
- Accurately tint the color paint according to the formula (using a computer color-matching system or following the manufacturer's formula card)
- Add the matching thinner and adjust to the application viscosity (typically 16-18 s with a No. 4 Ford cup at 25 °C).
- Apply 2-3 coats, with a flash-off time of 5-10 minutes between coats.
- Spray pressure: 2.0–2.5 bar (HVLP spray gun)
- Spray gun distance: 15-20 cm
- Key: Apply the final pass as an "effect pass" (at a slightly greater distance and slightly higher speed) to unify the orientation of the metallic flake alignment.
- The basecoat does not require sanding; after flash-off for 15–20 minutes, apply the clearcoat directly (wet-on-wet process).
Clear coat (topcoat) spraying standard:
- Use 2K high-solid clearcoat (solid content 55%+) and mix in proportion.
- First coat: medium humidity, covering with color paint.
- Second coat: full wet-on-wet, develop gloss and film thickness
- Total dry film thickness: 50-60 µm
- Bake at 60°C for 30–40 minutes, or air dry at room temperature for 12–24 hours.
Step 7: Polishing and Final Inspection
Operation Standard:
- After the varnish is fully dried, inspect the paint film for defects: orange peel, particles, sagging, uneven gloss, etc.
- Slight defects should be wet-sanded with P1500–P2000 sandpaper and then polished.
- Use a three-step polishing process of coarse compound, medium compound, and fine compound
- Final inspection standard: Under standard light source (D65 daylight color temperature), visually inspect at a distance of 50 cm for no color difference, no particles, and no orange peel.
- Gloss meter test: 20° gloss > 85 GU (high-gloss clearcoat standard)
III. Common Application Defects and Prevention
| Defect | Cause | Preventive Measure |
|---|---|---|
| Orange peel | Spray pressure too low, coating viscosity too high, spray gun too far away | Adjust pressure to 2.0-2.5 bar, control viscosity to 16-18 seconds, maintain 15-20 cm spray distance |
| Sagging | Excessive single-coat thickness, insufficient flash-off time, too much thinner | Control single-coat film thickness, ensure adequate flash-off between coats, mix strictly by ratio |
| Fish eyes / craters | Surface oil or silicone contamination, moisture in compressed air | Thoroughly degrease and clean, check oil-water separator, replace air line filter |
| Color difference | Inaccurate color matching, inconsistent spraying technique, variation in metallic flake orientation | Use computer color matching system, make color panel comparison, unify spraying process parameters |
| Poor adhesion | Insufficient sanding, substrate contamination, excessive inter-coat flash-off time | Ensure proper sanding, complete next process within specified time for each coat |
IV. Kexin Automotive Refinish Paint Product System
Kexin New Materials provides a complete product line of automotive refinish paints:
- 2K Topcoat Series (AC-3000) — High-concentration formula, strong hiding power, precise color matching for mainstream OEM color codes
- 2K High-Solid Clear Coat — High gloss (20° angle >90GU), weather-resistant and anti-yellowing, excellent leveling
- Epoxy primer + surfacer primer — Strong adhesion, good filling properties, fast drying
- Special paint for plastic parts — Formulated for different substrates such as PP/ABS/PC, no separate primer treatment required
- Water-based automotive refinish paint — Low-VOC eco-friendly formula, compliant with the latest emission regulations
All products are certified under the IATF 16949 automotive industry quality management system and can provide automotive repair enterprises with complete coating solutions and on-site technical training.