Analysis of the Manufacturing Process and Application of Carbon Fiber Coatings
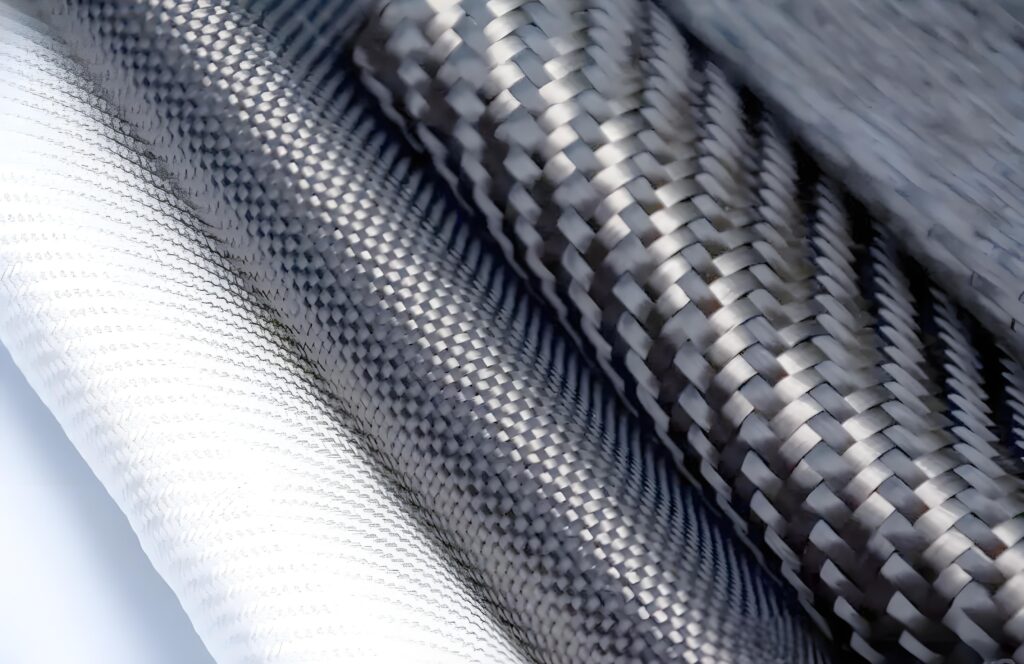
Carbon fiber paint is a high-performance coating known for its high-temperature resistance, UV protection, and scratch resistance, and is widely used in automotive, aerospace, electronics, and home décor applications. This paint not only provides an aesthetically pleasing surface finish but also effectively protects the substrate and extends service life. This article provides a detailed overview of the carbon fiber paint manufacturing process, key steps, and precautions to help readers gain a comprehensive understanding of this technology.
Characteristics and Advantages of Carbon Fiber Paint
The reason carbon fiber paint is highly favored is mainly due to its unique properties. First, its high-temperature resistance allows it to remain stable in extreme temperature environments without easily fading or deforming, making it suitable for high-temperature scenarios such as engine components. Second, its UV protection function can effectively resist harmful radiation from sunlight, preventing coating aging and discoloration, and ensuring long-term aesthetics. In addition, its scratch-resistant performance is achieved through a high-hardness coating, which can withstand daily friction and impact, reducing scratches and wear. These advantages make carbon fiber paint the preferred choice for industrial and high-end consumer products.
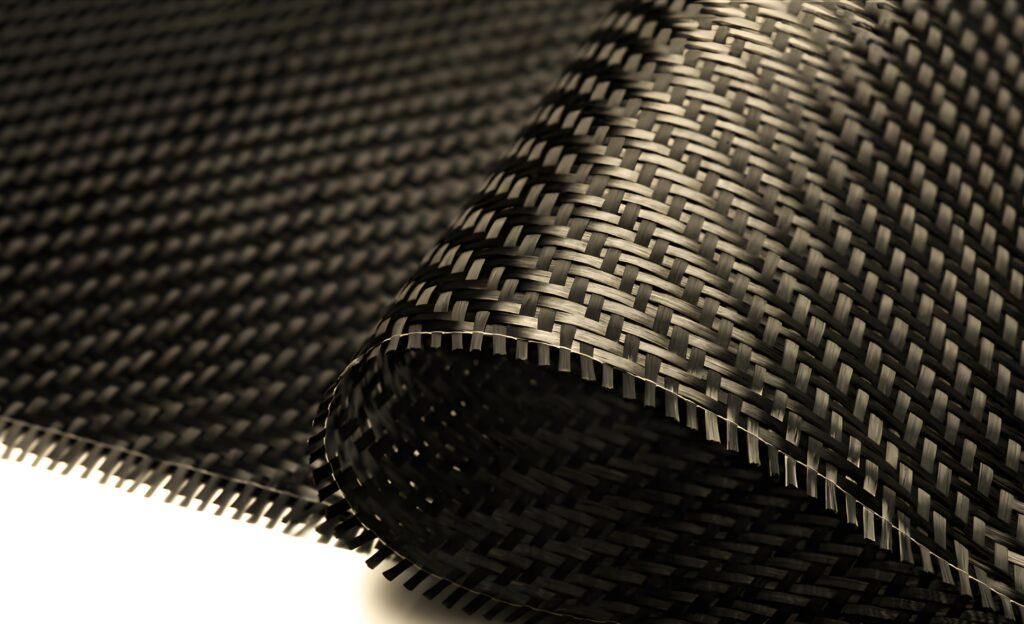
Detailed Steps for Making Carbon Fiber Paint
The process of making carbon fiber paint requires precise handling and strict quality control to ensure the final result. Below is the standard production process, divided into multiple steps, each of which is crucial.
Step 1: Substrate surface treatment.
Before spraying, the substrate must be thoroughly treated. First, use sandpaper or grinding tools to evenly sand the surface, removing any unevenness or impurities. This helps enhance paint adhesion and prevents later peeling. Next, use a cleaning cloth or compressed air to remove dust and oil, ensuring the surface is clean and free of contamination. If the substrate has old coatings or rust, degreasing or pickling treatment is also required. This step is fundamental; if not handled properly, it may lead to coating defects such as bubbles or peeling.
Step 2: First clear coat spraying.
After the substrate is processed, perform the first clear coat spraying. The clear coat usually consists of epoxy resin or polyurethane base materials, with added high-temperature resistance and UV absorbers. When spraying, a professional spray gun must be used, maintaining an even distance and pressure to avoid applying too thick or too thin. After spraying, the workpiece can be placed in an oven and baked at 60 degrees Celsius for 120 minutes. Baking helps accelerate curing and improves coating hardness and durability. This step forms the base protection and lays the foundation for subsequent spraying.
Step 3: Second spraying to enhance gloss and leveling.
After the first coat is completely cured, perform the second spraying. The main purpose of this spraying is to improve the surface gloss and leveling, making the coating smoother and more reflective. Leveling refers to the paint automatically leveling during the curing process, reducing brush marks or orange peel effects. You can use a special paint with added leveling agent, and after spraying, bake it as well. The temperature and time can be adjusted according to the environment, usually baking at 60 degrees for 60-90 minutes. This step can significantly improve the appearance and is suitable for high-end applications.
Step 4: Optionally apply a third coat to achieve the desired effect.
Depending on requirements, a third coat can be added to further optimize the result. For example, if higher abrasion resistance or a specific color depth is needed, the third coat can include additional additives such as silicone-based anti-scratch agents. After each coat, sufficient curing time (usually 30–60 minutes) must be allowed, or baking applied to ensure full curing. Over-application may cause the coating to be too thick and affect performance, so proceed with caution.
Notes and Best Practices
When making carbon fiber paint, there are several key points to note. First, after each spraying, an interval or baking must be ensured; otherwise, the uncured coating may stick or develop defects. Second, environmental factors such as humidity and temperature affect curing, so it is recommended to operate under controlled conditions. In addition, using high-quality raw materials and regularly maintaining equipment can improve consistency and efficiency. Finally, safety protection should not be overlooked; operators should wear masks and gloves to avoid contact with chemicals.
Application Fields and Future Development
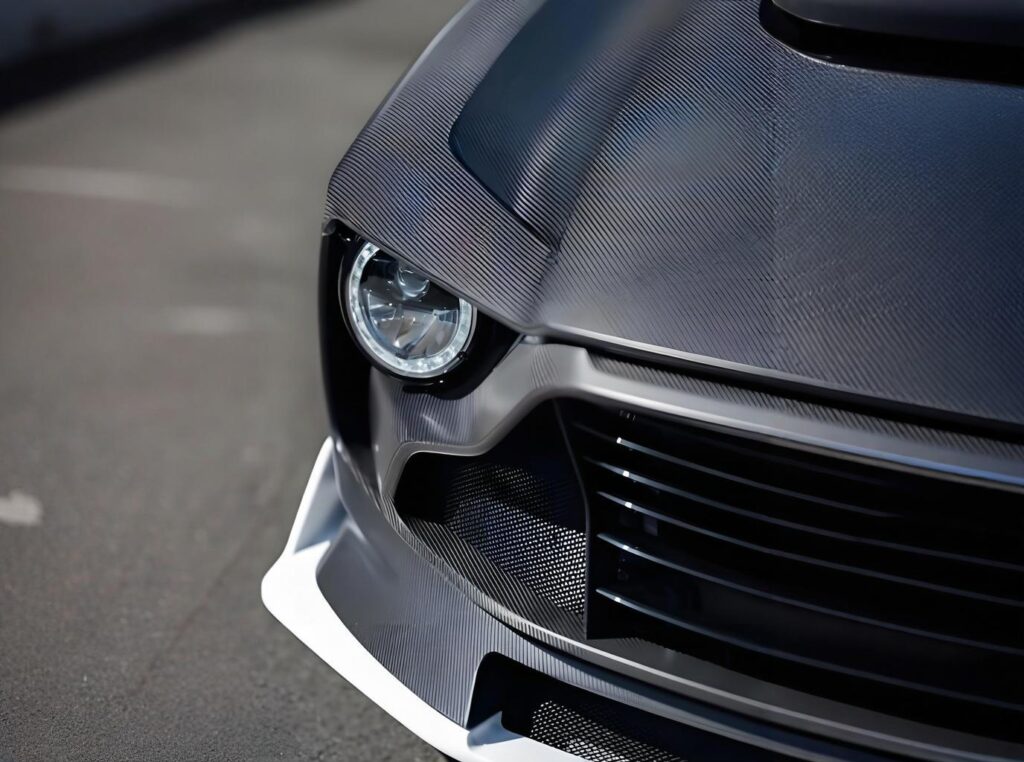
Carbon fiber paint has been widely used in fields such as automotive modification, aerospace components, electronic enclosures, and sports equipment. With technological advancement, more environmentally friendly water-based formulations and smart coatings, such as self-healing functions, may emerge in the future. This not only enhances product value but also promotes sustainable development.
In summary, the production of carbon fiber paint is a systematic process; through refined steps and strict control, superior performance and aesthetics can be achieved. Whether for DIY enthusiasts or industrial manufacturers, mastering this knowledge can improve the quality of the final product. If you have related needs, it is recommended to consult professional suppliers for customized solutions.